
3. Installation
Install the module at the file level before configuring anything in WHMCS.
- Download the module package from your WHMPress client area.
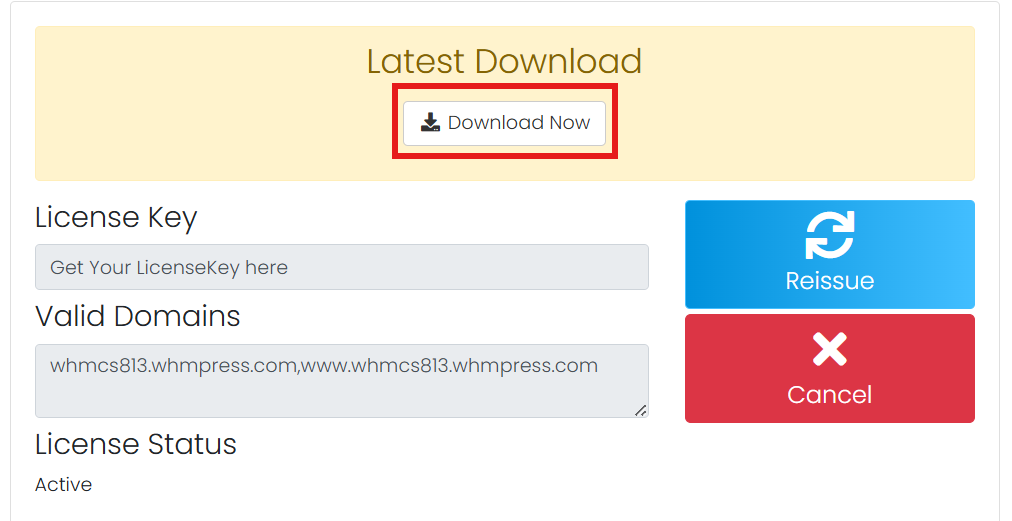
- Extract the package. You will get a folder named linode.
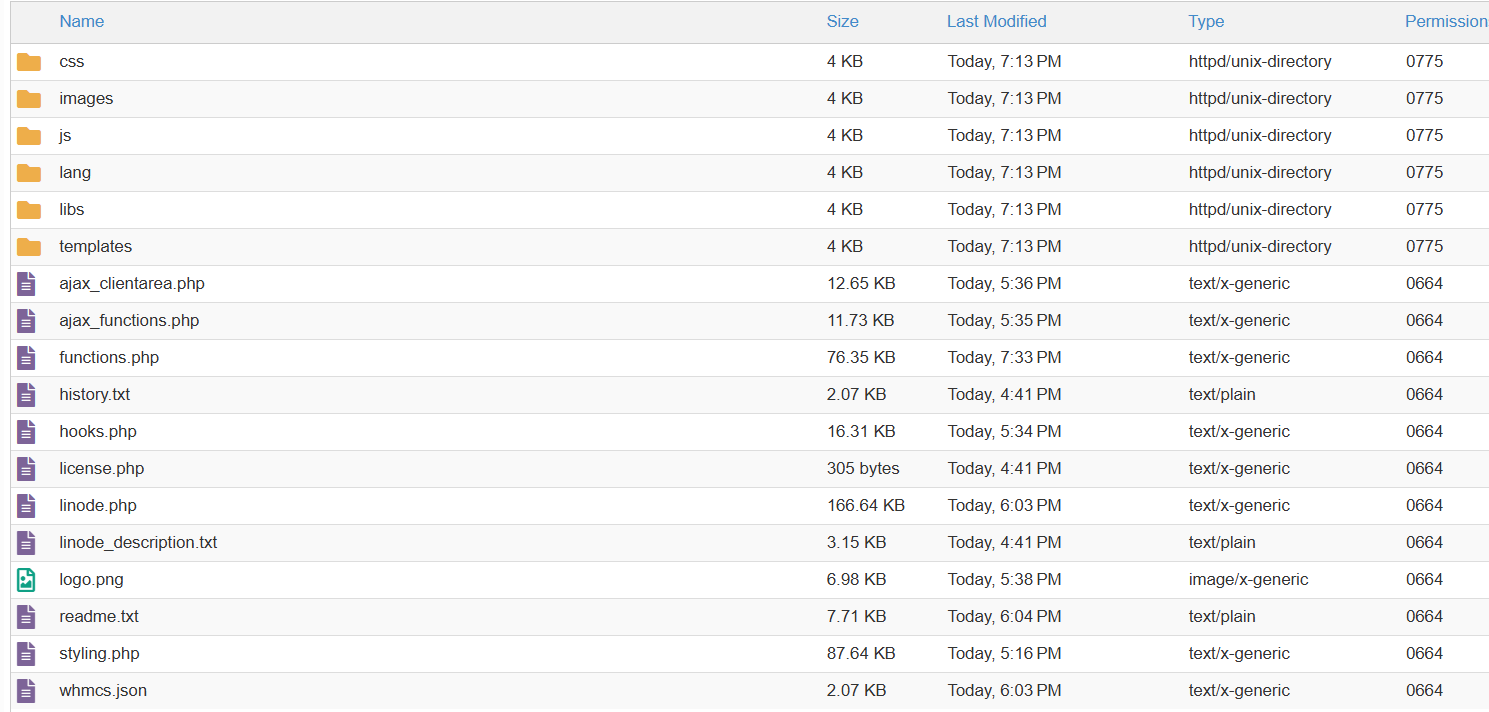
- Upload the linode folder into your WHMCS installation so that the resulting structure is:
/modules/servers/linode/
linode.php functions.php styling.php
hooks.php license.php whmcs.json
ajax_functions.php ajax_clientarea.php
readme.txt history.txt logo.png
css/ icons.css client_area_style.css admin_style.css lagom.css
js/ scripts.js clientarea.js cselect.js
images/ logo.png logo2.png
lang/ english.php (+ translation stubs)
libs/ LinodeApiBase.php and the per-resource API classes
templates/ overview.tpl + one .tpl per Client Area page
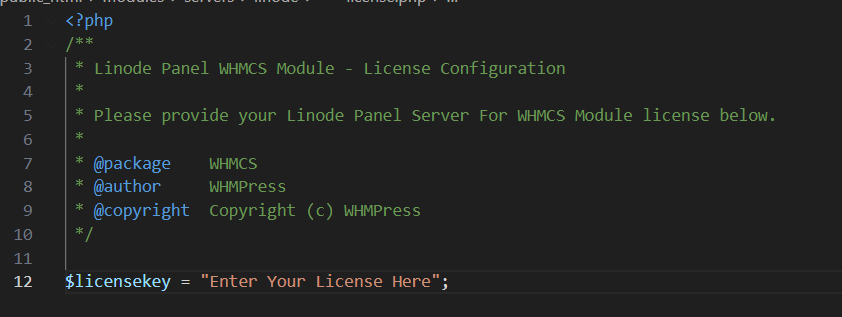
- Open modules/servers/linode/license.php and enter your WHMPress license key between the quotation marks:
$licensekey = “YOUR-LICENSE-KEY-HERE”;
Important: Until a valid license key is present, the module shows a “License Check Failed” panel on the product’s Module Settings tab and refuses every provisioning and service action. A dismissible warning also appears at the top of the WHMCS Admin Area.