
12. Admin Area Service Management
- In the Admin Area, open Clients → Products/Services and view the customer’s Linode service.
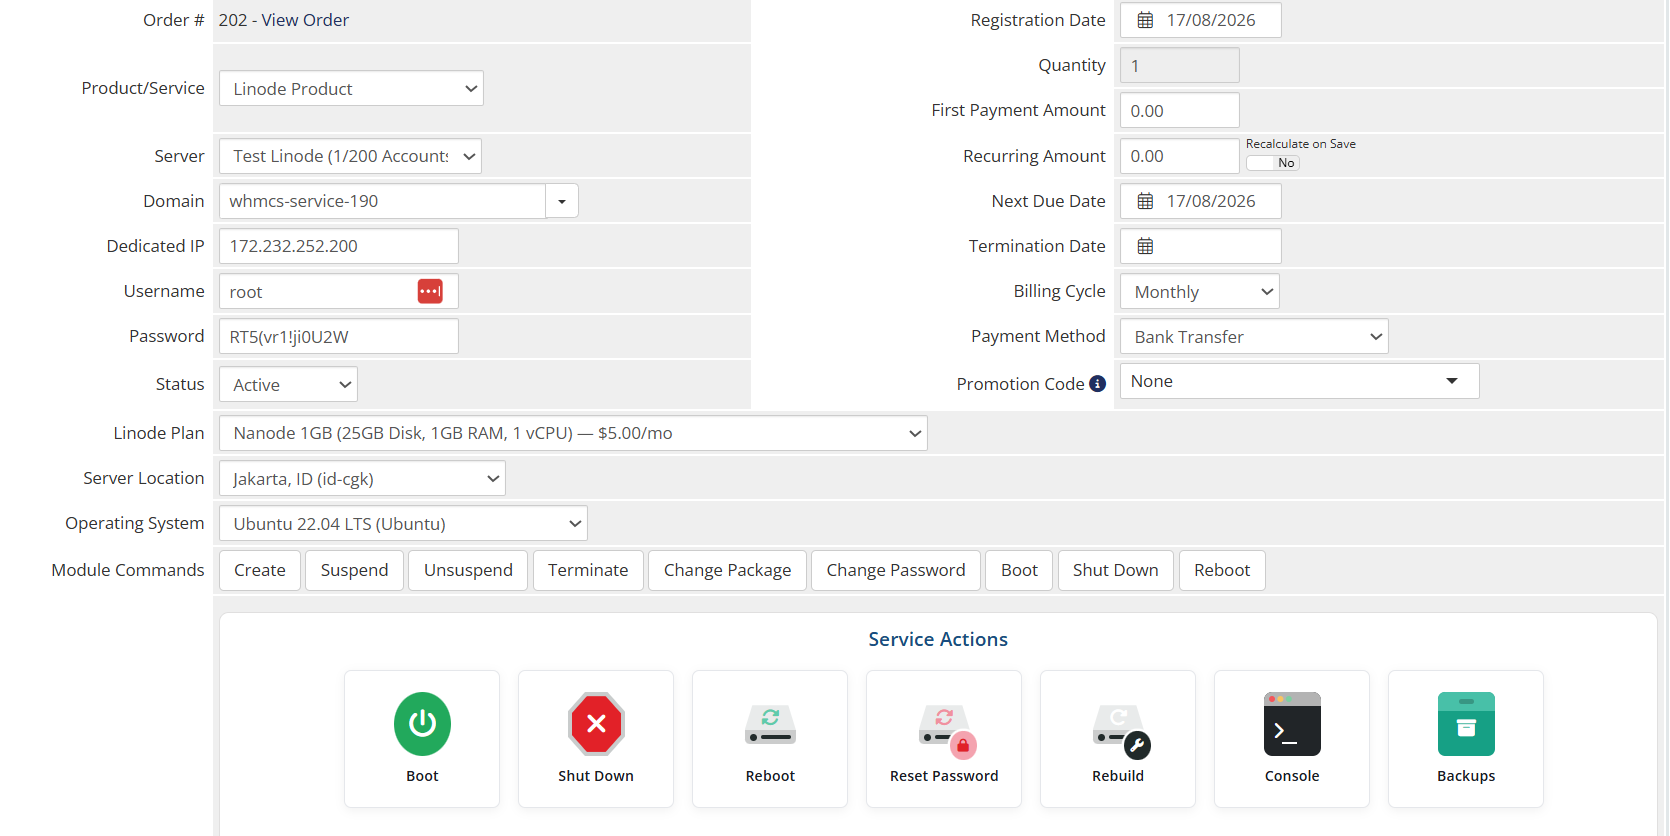
- The module renders its own Linode Instance panel on this tab — a visual mirror of the customer’s Overview page, with the same action boxes, icons and information table.
[Insert Screenshot: Admin Area — Linode Instance Panel]
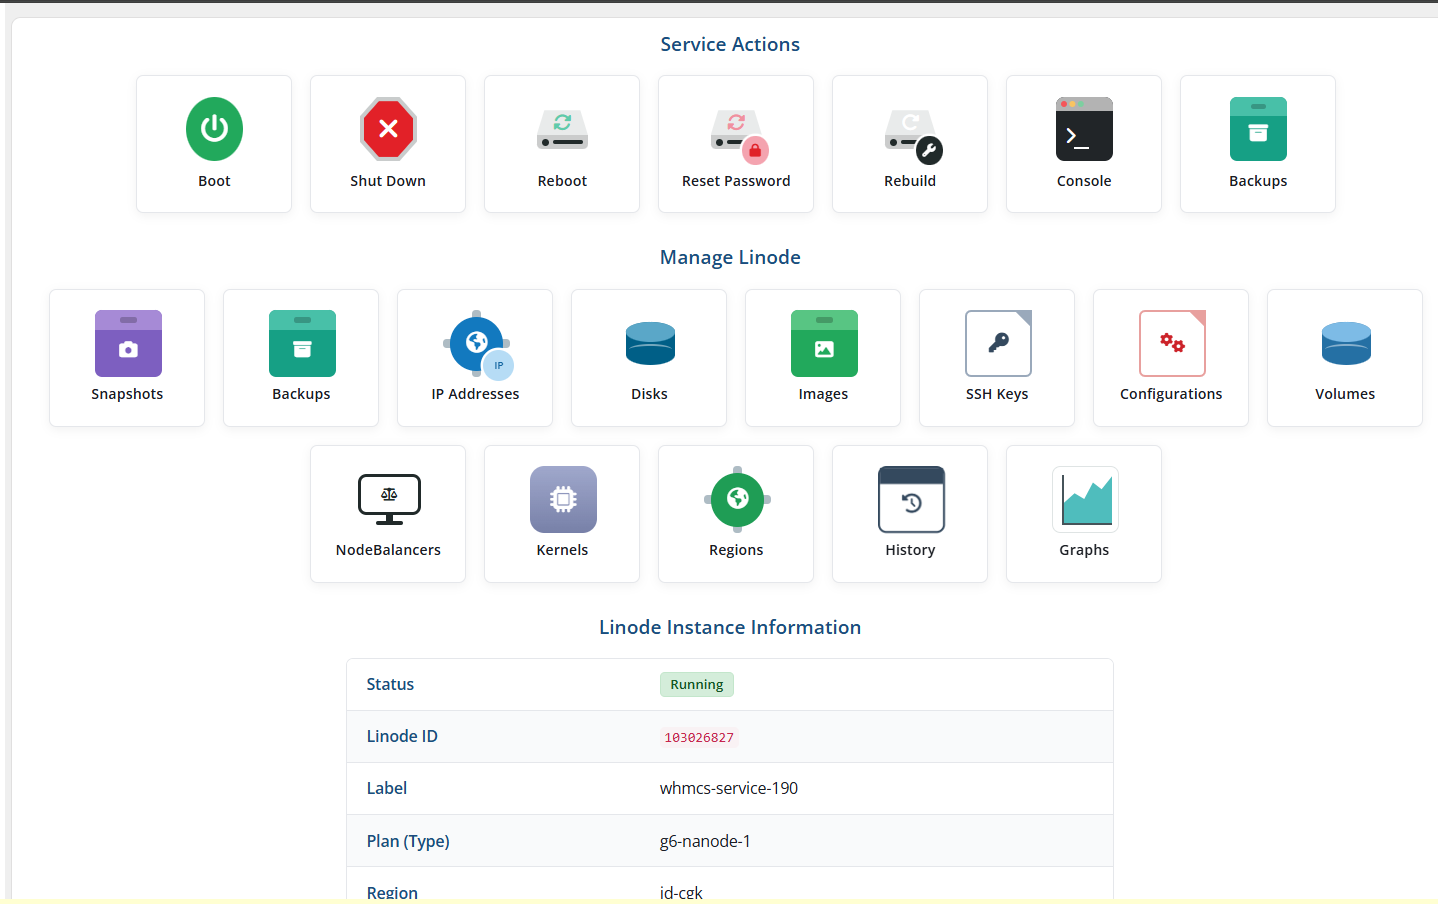
Actions available to staff on this panel:
|
Action |
Behaviour |
Confirmation |
|---|---|---|
|
Boot |
Starts the instance. |
No |
|
Shut Down |
Stops the instance. |
Yes |
|
Reboot |
Restarts the instance. |
Yes |
|
Reset Password |
Sets a new root password (or generates one), handling the required shutdown and boot. |
No |
|
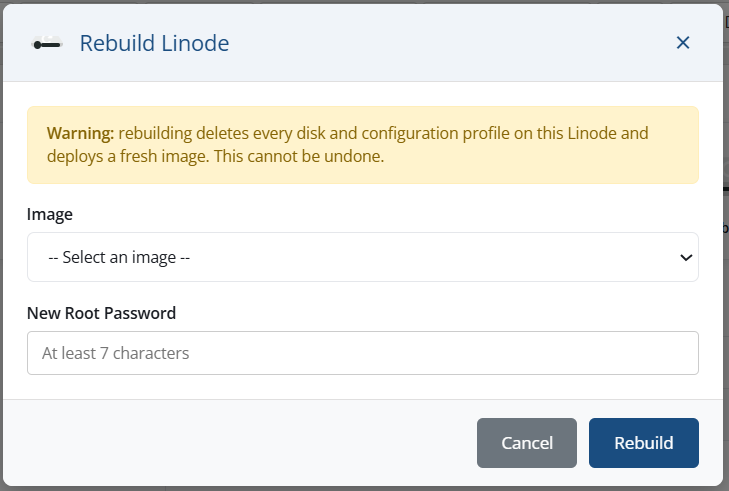
Rebuild |
Redeploys the instance from a chosen image with a new root password. |
Yes |
|
Console |
Shows the Weblish console URL and the root credentials. |
No |
|
Backups |
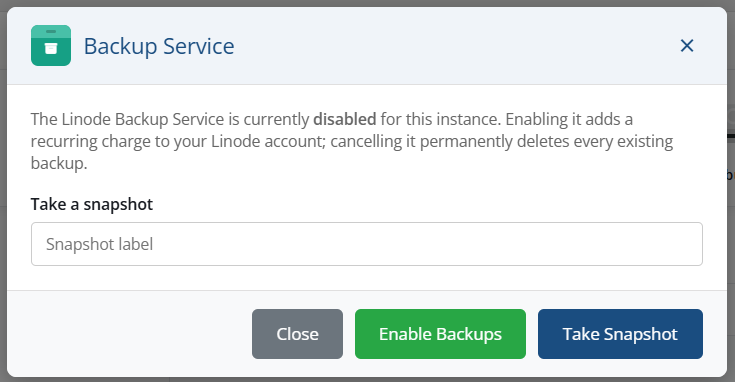
Enables or cancels the Backup Service, and takes a snapshot. |
Yes, to cancel |
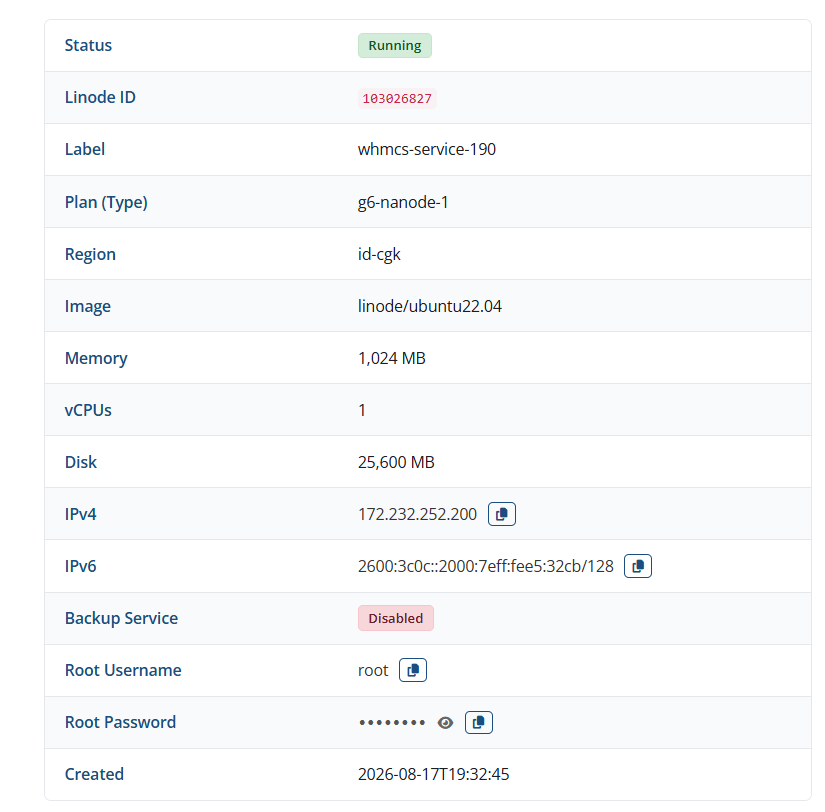
The information table shows the instance status, Linode ID, label, plan, region, image, memory, vCPUs, disk, IPv4 and IPv6 addresses, Backup Service state, root credentials and creation date. The standard WHMCS module command buttons (Create, Suspend, Unsuspend, Terminate, Change Password, Change Package) remain available and behave as described in Section 9.
Important: Unlike the Client Area, the admin panel always shows every action and every populated field, regardless of the Client Area Features Visibility and Optional Client Area Pages settings. Staff never lose visibility into a service’s real state because the customer-facing display was configured to hide something.