
After activating the module, please navigate to the module dashboard.
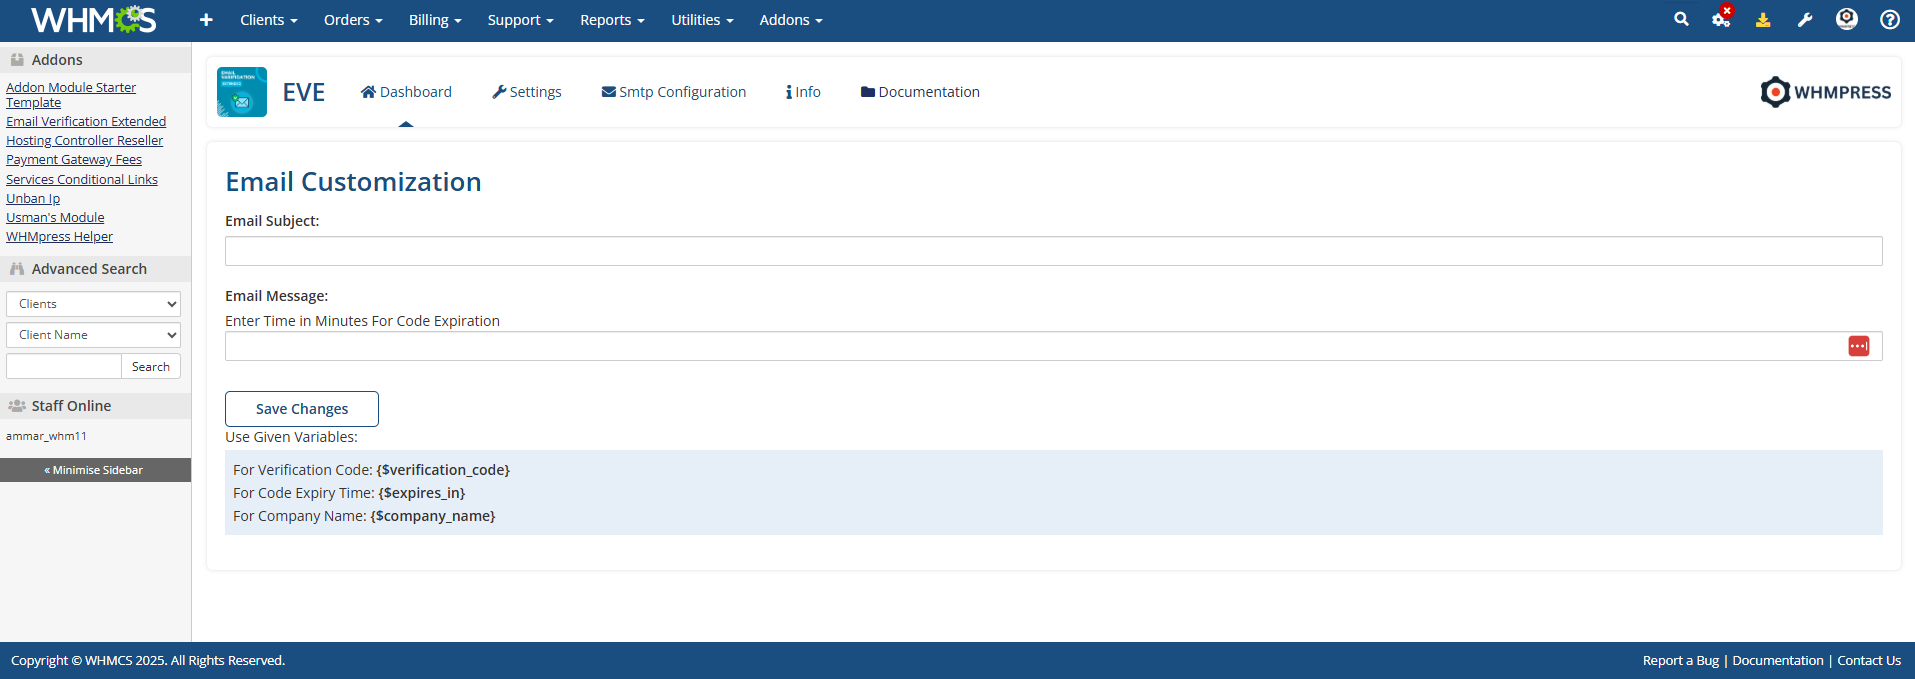
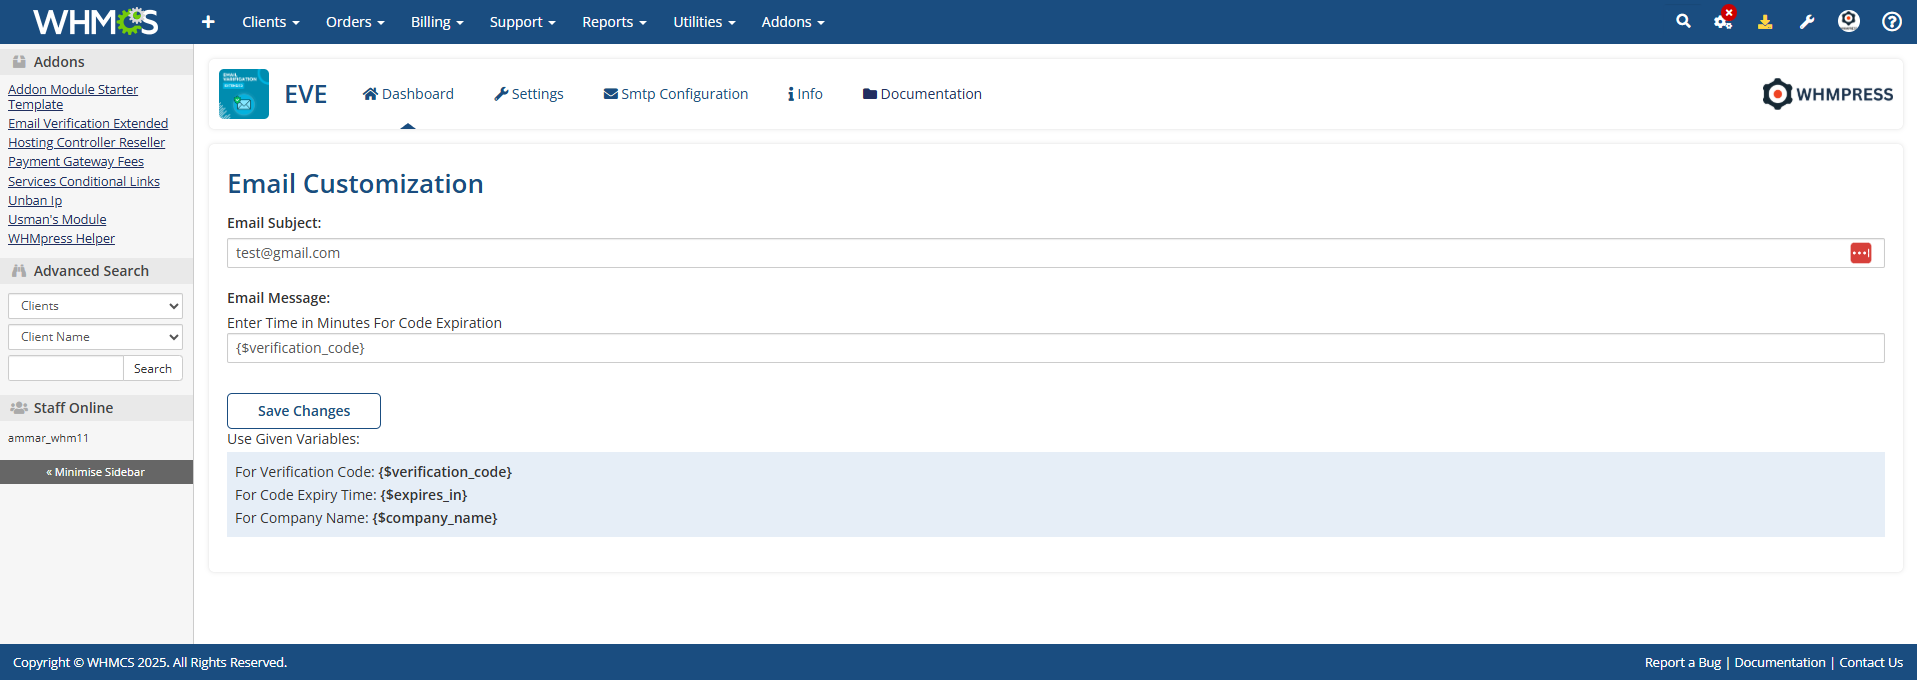
You will need to enter the email subject in the designated field, and then enter the email message you wish to send using the available variables provided.
In the Settings tab, you can enable module logs for tracking and debugging purposes. You can also set the code expiration period in the designated field—the verification code will expire after the duration you specify. Don’t forget to click Save Changes to apply the settings.
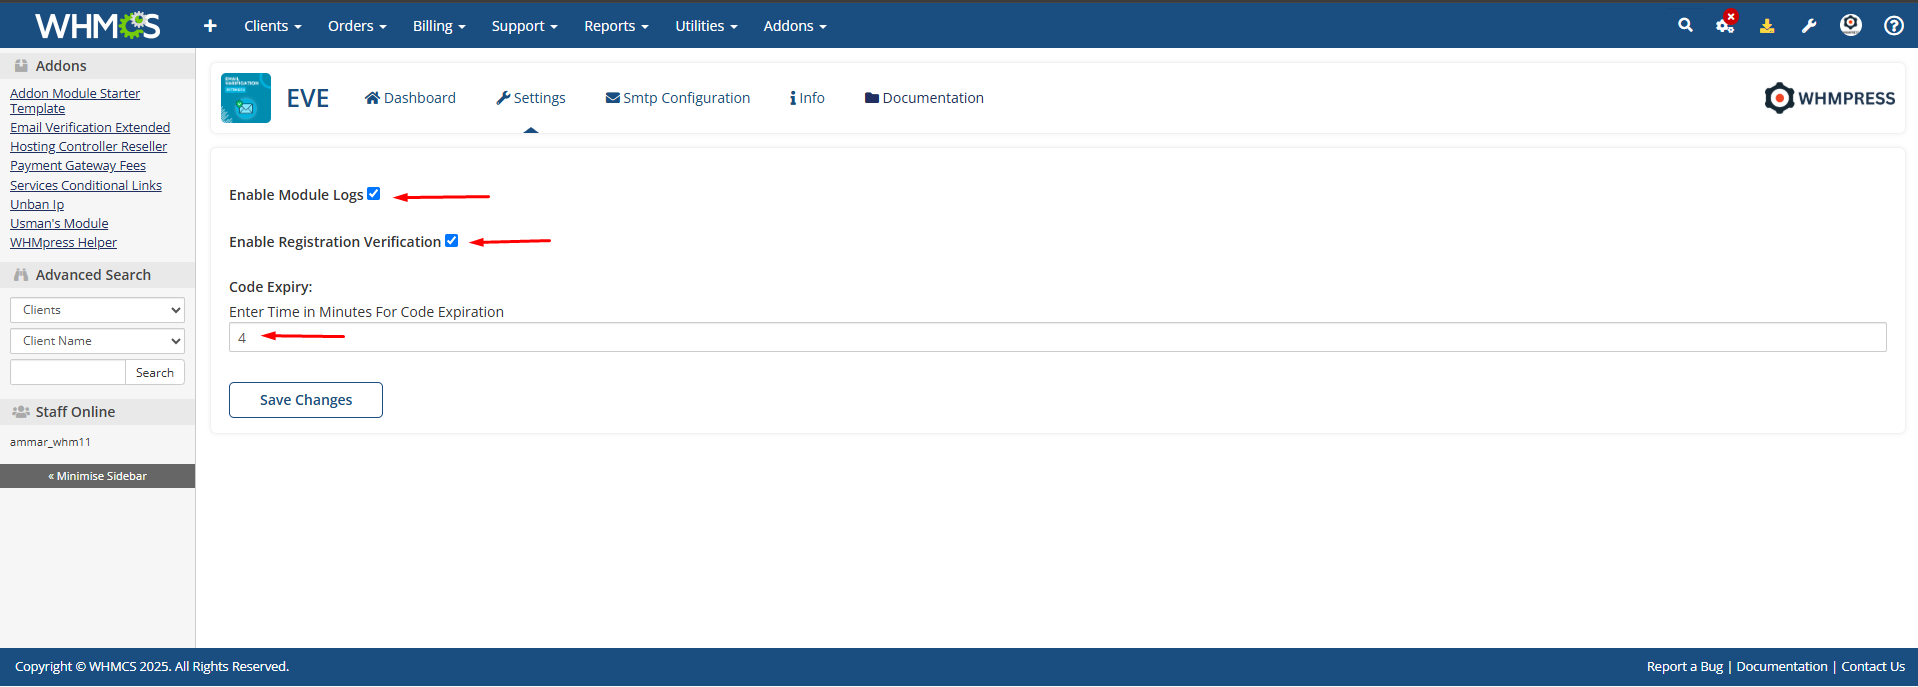
Note: If you want to prevent clients from logging into the client area until their email is verified, enable the Registration Verification checkbox.
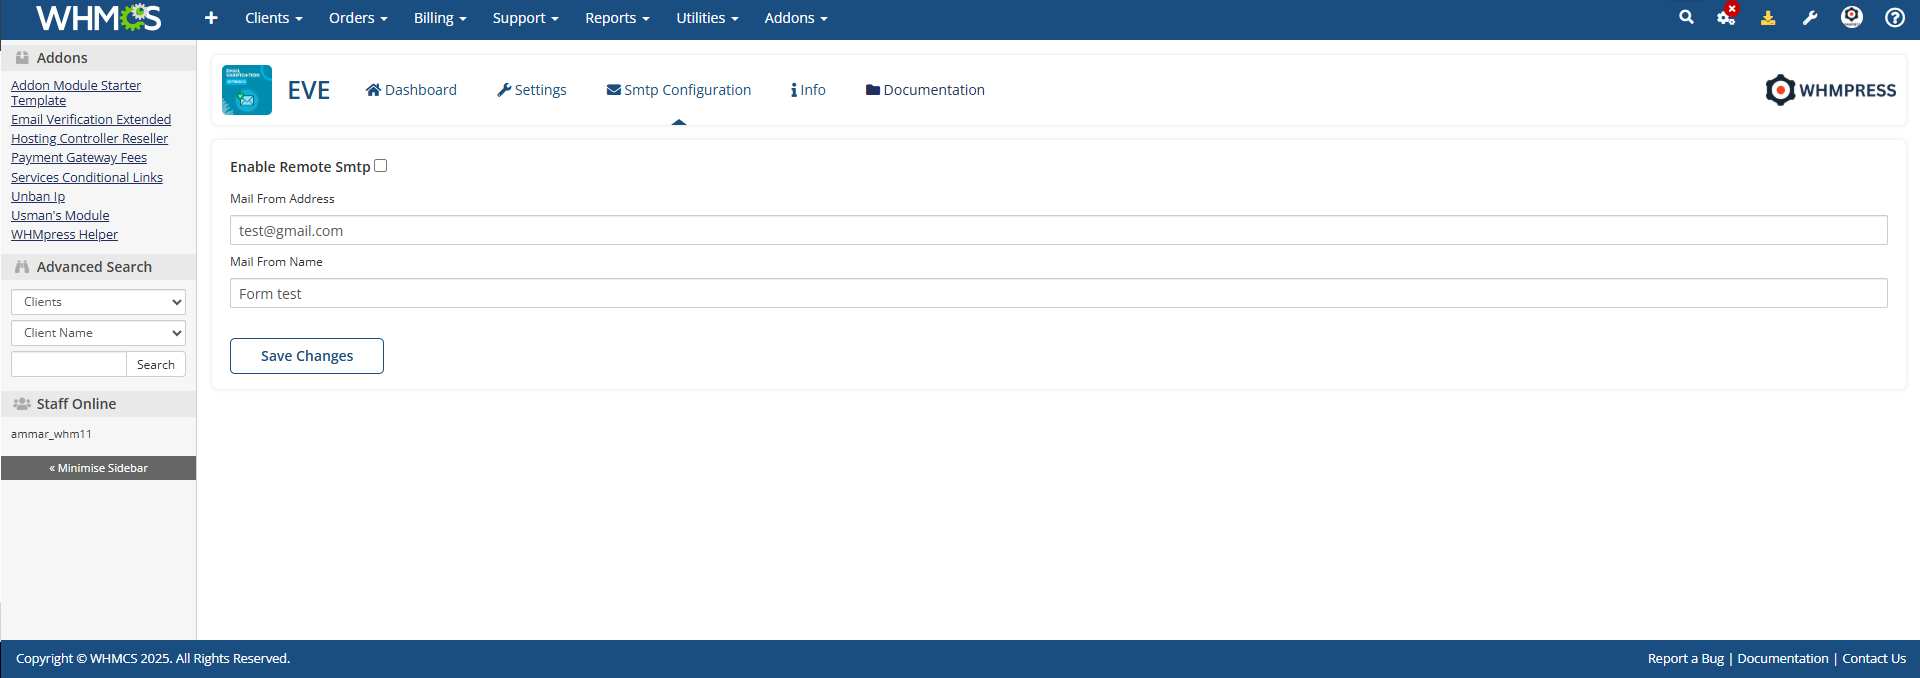
You have to configure the SMTP simply click the Remote Smtp checkbox And fill all the input field and select the encryption that you want to sent the email and click save changes
(This option is Optional)
Note: If the smtp is not configured in your server then do not enable the Remote SMTP Checkbox.
Now, simply go to your client area and register a new client by filling in all the required details. Please make sure to enter a valid and active email address. After registering, you will receive a verification code sent to that email. Enter the code on the verification page, and once verified, you will successfully log in to your client area.
Conclusion:
Thank you for reviewing this document. If you have any questions or need further assistance, please feel free to reach out.
[ WHMPRESS.com ]
[ Support@whmpress.com ]